Hello, fabulous crafters! Welcome to a journey of creativity and imagination with our best friend in the crafting world—the Cricut machine! Whether you’re a seasoned DIY enthusiast or just starting out, crafting with Cricut offers endless possibilities to bring your ideas to life. In this blog post, I will explore three amazing crafts you can create with Cricut, giving you tips, tricks, and a sprinkle of inspiration to get started.
Before I dive into the delightful world of Cricut crafting, did you know that over 4 million Cricut machines have been sold worldwide? That’s a whole lot of creativity happening! Let’s join the millions and see what magic we can make.

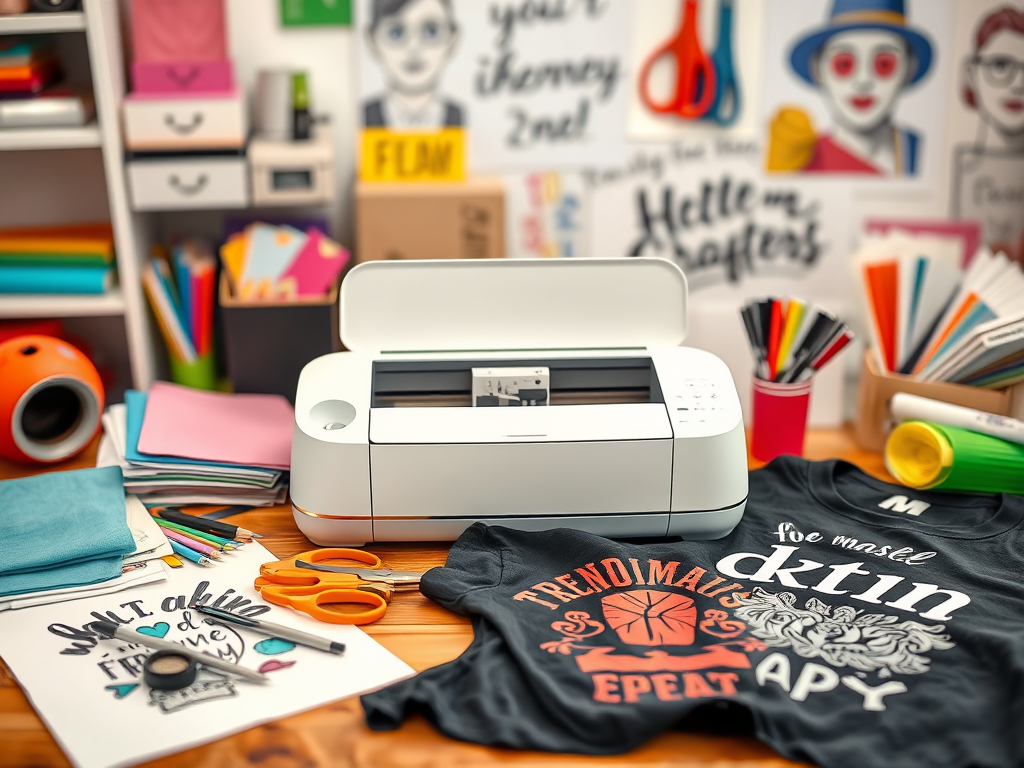
Craft 1: Personalised T-Shirts
Why Personalised T-Shirts?
Personalised t-shirts are not just a fashion statement; they are a form of self-expression. With the help of Cricut, you can easily design and create custom t-shirts that reflect your personality, interests, and style. Whether it’s a quirky quote, an intricate design, or a simple monogram, the possibilities are endless.
Combing my crafting with another love of mine when I recently visited Disney World in Florida I created most of my T-shirts so that they could theme with the different days and resorts. Using the Cricut meant that with some cheap T-shirts I was able to make unique designs at a low cost.
How to Make Personalised T-Shirts
Materials Needed:
Cricut machine
Heat transfer vinyl (HTV)
T-shirt
Weeding tool
Easy Press or household iron
Steps:
Design Your Graphic: Use Cricut Design Space to create your design. Feel free to explore fonts, shapes, and ready-made templates.
Cut the Vinyl: Load your HTV into the Cricut machine, making sure to mirror your design before cutting.
Weed the Design: Carefully remove the excess vinyl using a weeding tool, leaving only the design on the clear liner.
Apply to T-Shirt: Preheat your Easy Press or iron, place the design on the t-shirt, and apply heat according to the HTV instructions.
Peel and Wear: Let the vinyl cool slightly, then peel off the liner to reveal your masterpiece!
Real-World Example
Another use I had for making home made T-shirts was for a Hen Party meaning that they could be personalised and made in colours that matched the decorations.

Craft 2: Intricate Paper Crafts
Why Paper Crafts?
Paper crafting with Cricut is perfect for those who love the intricacy of design. From greeting cards to stunning paper flowers, Cricut adds precision and detail that can’t be achieved by hand. It’s a fantastic way to create meaningful gifts and décor.
How to Make Paper Crafts
- Materials Needed:
- Cricut machine
- Cardstock or specialty paper
- Cutting mat
- Glue or tape
- Steps:
- Choose a Design: Explore Cricut Design Space for paper craft templates or create your own intricate designs.
- Prepare the Material: Place the cardstock on the cutting mat, ensuring it’s smooth and secure.
- Cut the Design: Let the Cricut work its magic, cutting your design with precision.
- Assemble the Pieces: Use glue or tape to assemble your paper craft, following the design’s instructions.
- Personalise and Display: Add personal touches like embellishments or messages to make it unique.
Real-World Example
I love to make my own handmade cards as they feel more personal and it can be cheaper if you are wanting a more intricate design and personalisation. This is also good at Christmas as you can make some lovely designs that are unique to you.

Craft 3: Vinyl Home Décor
Why Vinyl Home Décor?
Vinyl crafting with Cricut is a fantastic way to add a personal touch to your home. From wall decals to labelled containers, vinyl projects are not only practical but also stylish. They allow you to personalise your space with quotes, patterns, and designs that resonate with you.
How to Make Vinyl Home Décor
- Materials Needed:
- Cricut machine
- Adhesive vinyl
- Transfer tape
- Weeding tool
- Surface (e.g., wall, glass, wood)
- Steps:
- Design Your Décor: Use Cricut Design Space to create or find designs that match your home aesthetic.
- Cut the Vinyl: Load the adhesive vinyl into your Cricut and cut the design.
- Weed the Design: Remove all unwanted vinyl, leaving just your design on the liner.
- Apply Transfer Tape: Place transfer tape over your design and peel away the liner.
- Transfer and Adhere: Carefully position your design on the desired surface and smooth out any bubbles, then remove the transfer tape.
Real-World Example
I have used vinyl to make a whole range of crafts for the home. One thing I love to make is personalised cups or glasses as you can include an image or text to enhance personalisation.
Conclusion: Embrace Your Inner Crafter
Crafting with Cricut is more than just a hobby—it’s a way to express yourself and enjoy the process of creation. Whether you’re making personalised t-shirts, intricate paper crafts, or vinyl home décor, each project is an opportunity to let your creativity shine.
So, lovely readers, what will you create next with your Cricut? Will you design a unique t-shirt or perhaps transform a space in your home with vinyl decals? Embrace your inner crafter, and remember, the joy is in the journey as much as the destination. Happy crafting! 🎨✨